

Time for another photo post, folks. :)
I took a photography course at our community vocational college back in the 90's. They didn't have a dark room, so we never learned to develop our pictures. But I remember the teacher saying doing your own developing was almost as key to the final result as setting up and taking the shot. I also remember her saying how long it took to develop color pictures and how once she'd worked all day on just one shot. Several years later I traded in my wonderful Pentax manual SLR camera for my first digital camera an Olympus 3030. I know, I still kick myself and wish I had the Pentax back, but at the time, it was the only way I could afford a good digital camera. The Olympus came with software called CAMEDIA, and the gamma feature, along with the cropping, sharpening, color balance and saturation tools became my new best friends as I attempted to get my photos to display not simply as the camera showed them, but as I remembered them. Then I was introduced briefly to Photoshop and Macromedia Fireworks at the university and eventually was able to procure these products at a sharply discounted price for my home machine.
Now I don't mess with CAMEDIA at all.
Photoshop is my favorite photo editing software, and I've been discovering all sorts of tools with it recently. In addition to the ones mentioned above, Photoshop's curves and levels seem to really zero on certain details in the photo. I don't claim to really understand how these tools work - but I'm sure having fun experimenting!
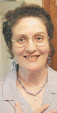
Here's a photo I took at the annual Potawatomi Festival Parade back in 2003.
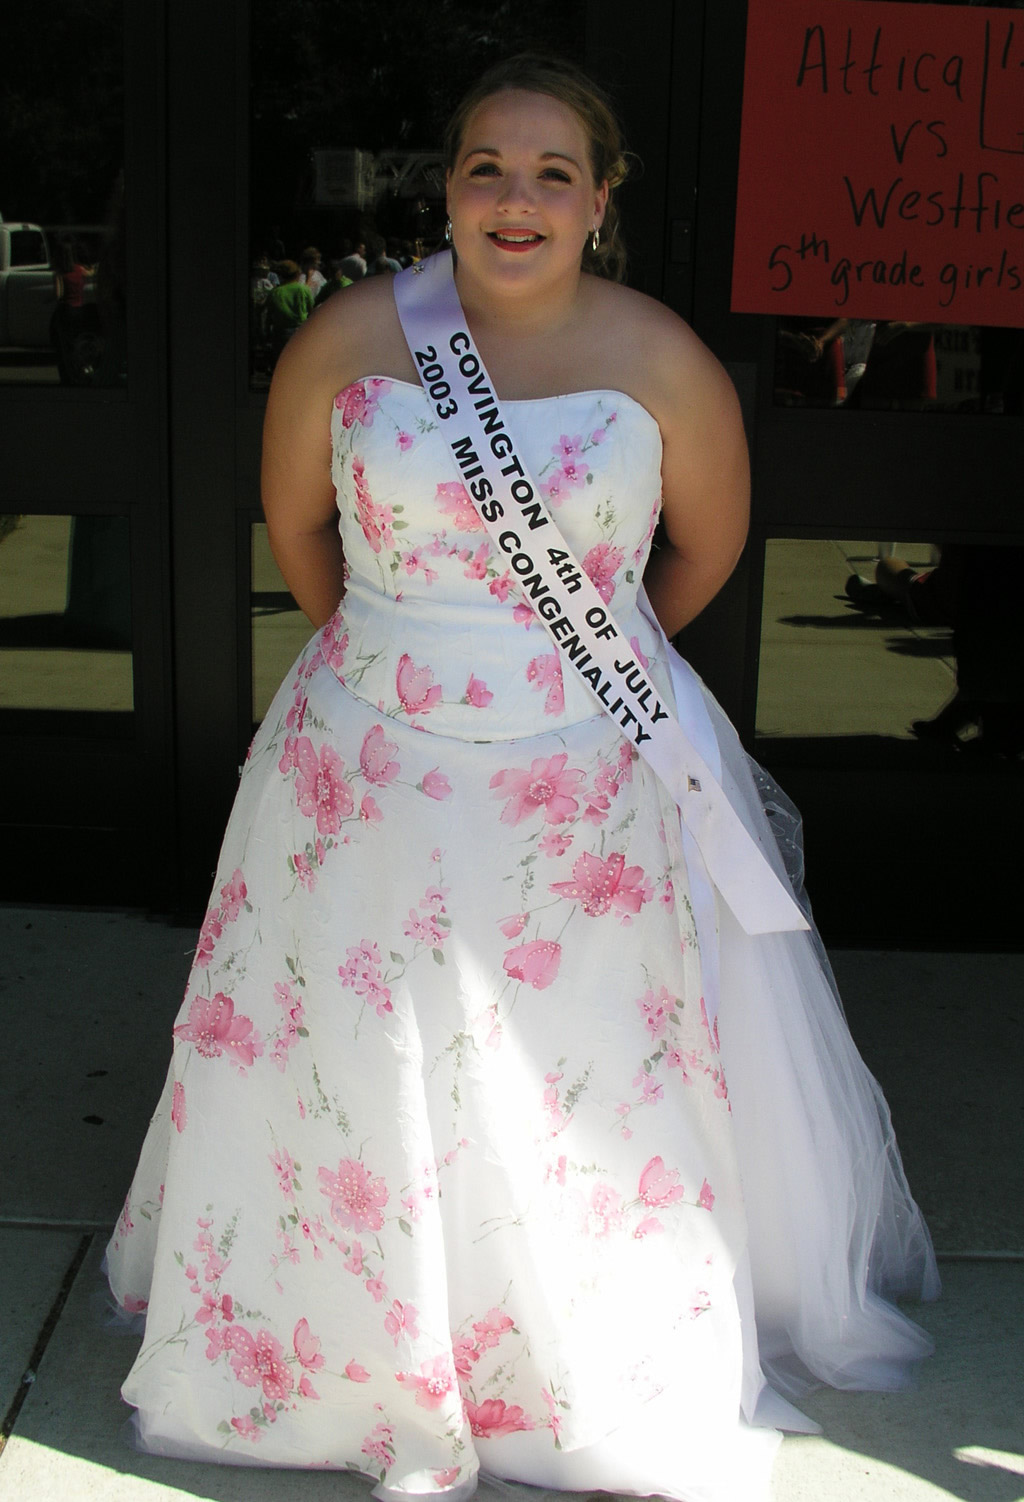
Click on image for larger size
Back then the only way I could bring certain details out of the shadows (like the subect's eyes and hair) was the lighten the whole photograph with the gamma tool - and then try to resaturate the colors with the saturation tool. But here's the photo edited in Photoshop. By using certain features in Photoshop's levels tool in addition to Photoshop's color balance, selective color saturation, and curves, I was able to bring this gorgeous miss in her lovely dress out of the background and to give her eyes and a head with hair without fading the entire photograph too much. You the viewer can be the judge of the results and which version you prefer most. :)

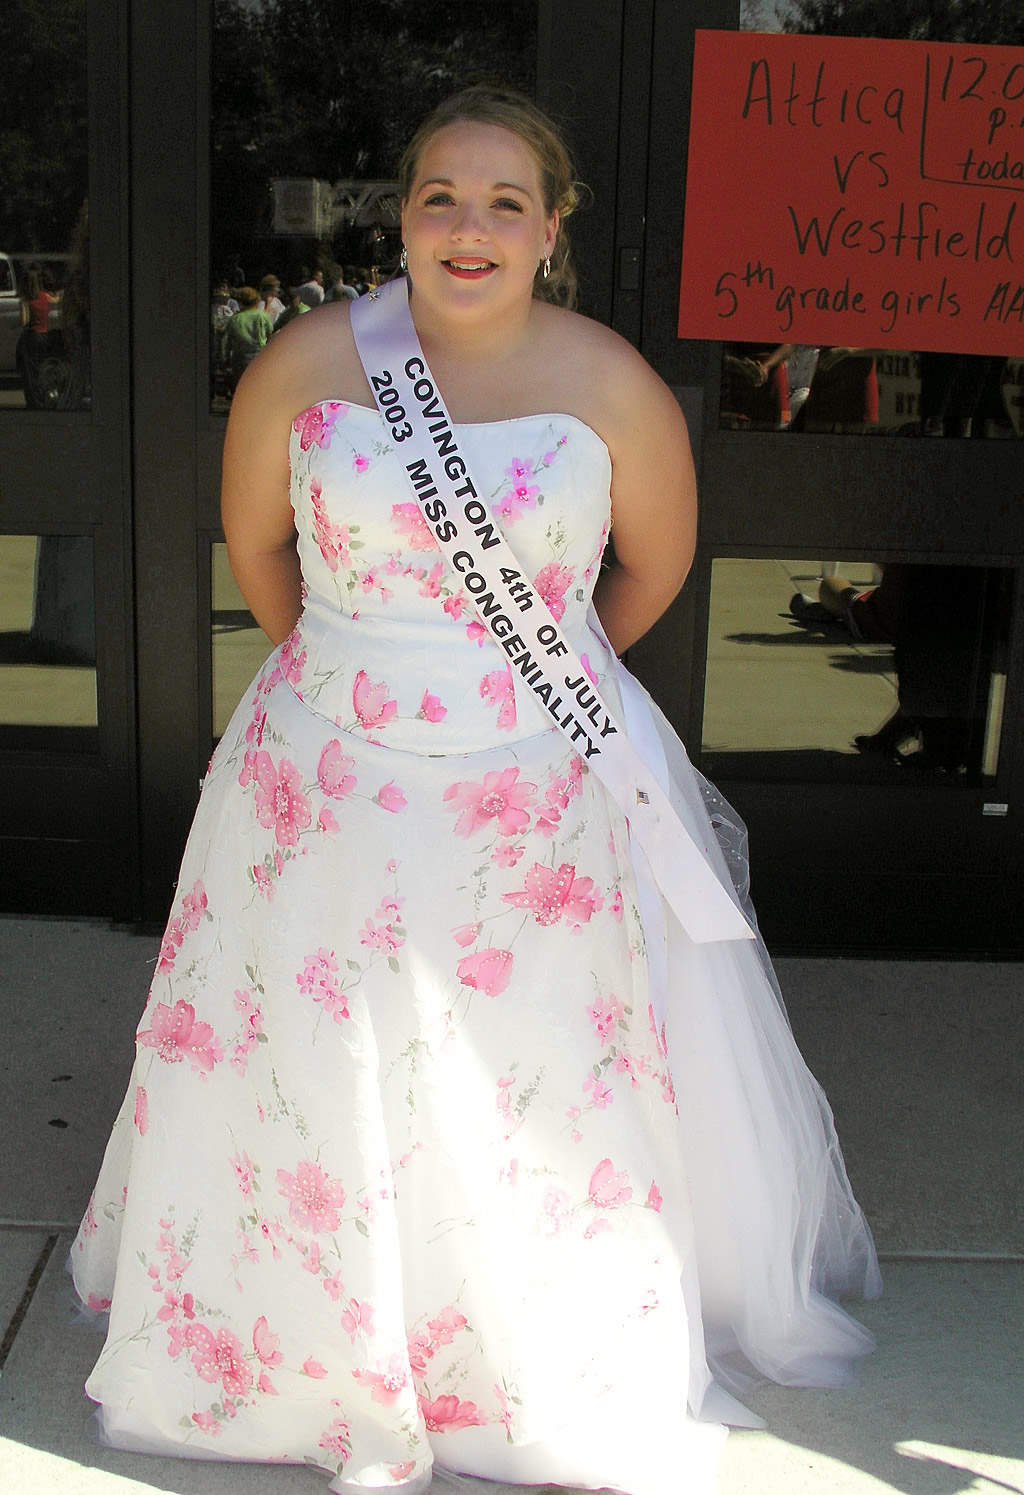
click on image for larger size
Here's another shot, unedited, of this young lady with other members of Potawatomi Parade royalty.
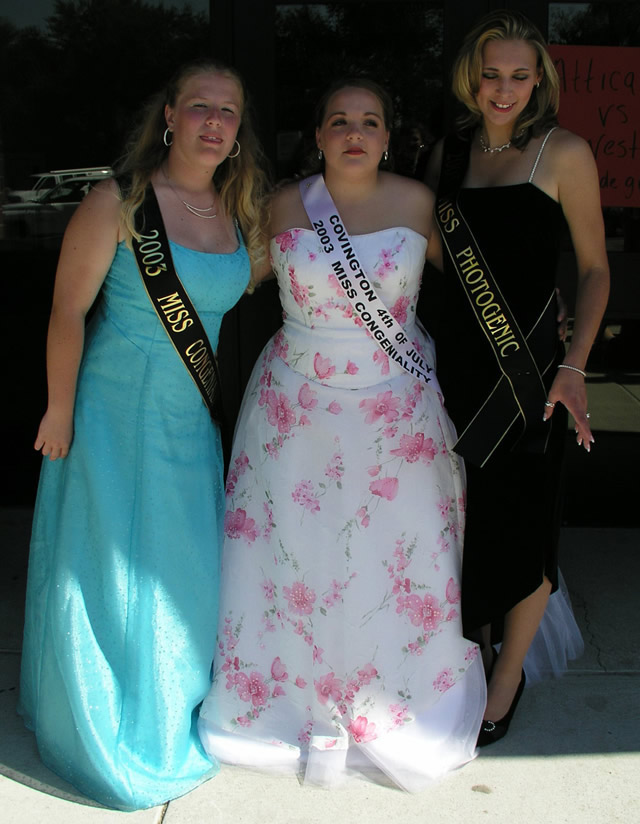

click on image for larger size
I mostly used the curves tool and some color saturation in Photoshop to accomplish a similar effect in this photograph - couldn't avoid losing some pretty detail in the dresses unfortunately. I also did some pretty funky things with the color balance tool ... Anyway, here's the edited shot:

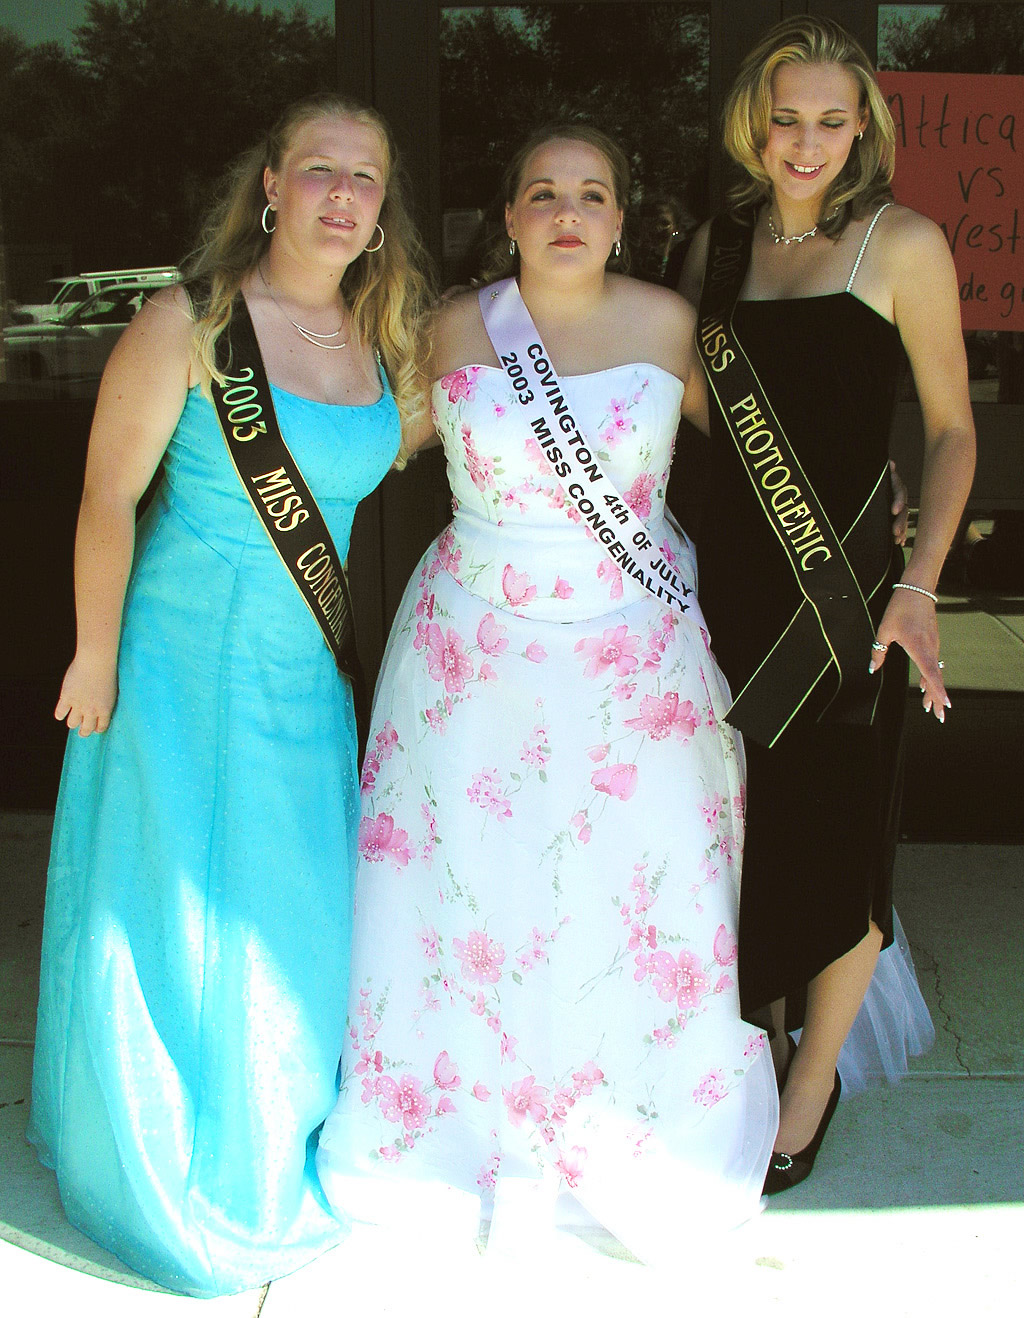
click on image for larger size
Anyway, enlightening comments, critiques, and information in general and especially about setting up, snapping, and developing photos in these types of lighting and color situations gratefully appreciated! I think these pics would have turned out better if the girls had been completely in the shadows so the camera didn't have to deal with the extreme range of light. And if that weren't possible then a fill flash would have helped? And then there's the whole issue of asking people you don't know to pose ...
Happy Photographing,
JuneBug
No comments:
Post a Comment